Buy PodPillows!


Categories
Archives
Raising the flag of pickle success!

As many of you may have read or may know, I am working my way towards becoming a master canner and preserver of all-things-delicious-at-their-peak so I can eat them when the world is cold, harsh and wintery. I’ve not yet mastered this, however. I think I’ve got most aspects of the preserving down; it’s the rate of consumption that I haven’t fully grasped.
Case in point: My dear mother brought me a delicious Edible Arrangement when I was sick from my Wretched Trip to India. One of the gigantic ones, with canteloupe balls, pineapple flowers, and chocolate covered strawberries, all arranged in skewered perfection. Since it is physically impossible (though I really tried!) to eat all of that fruit before it went bad, I put much of it in the blender and turned it into fruit leather with my fancy dehydrator. Perfect for those long winter days when there’s nothing but mushy tomatoes, imported apples, and out-of-season oranges in the produce section right? Or… how about, you know, the perfect snack for the next day… when… you really want massive amounts of fruit leather? Oops. My husband is continuously amazed by the different ways that I can consume inordinate amounts of fruits and vegetables at a time.
Bag of baby carrots in one sitting? No problem. Several ears of corn for dinner? Sure. But 23 pounds of pickles? Attempting to consume this in one sitting might give me pause.
My latest preservation endeavor all began last Christmas. My wonderful in-laws gifted us a massive pickling crock from my favorite store on earth (Lehman’s!). It’s beautiful, and heavy, and terracotta. And it holds many, many, *many* pickles.
My friends, please join me in a photo extravaganza of our adventure pickling 23 pounds of farm-fresh cucumbers.
Step 1: Obtain Pickles (in other words, buy out local farm stand supply)

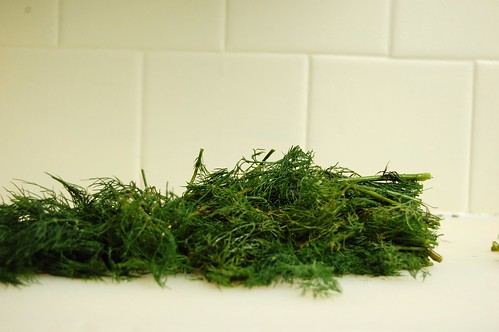
Step 2: Gather dill, garlic, and various other pickling spices like mustard seed, nutmeg, cinnamon, etc.

Step 3: Measure out canning salt

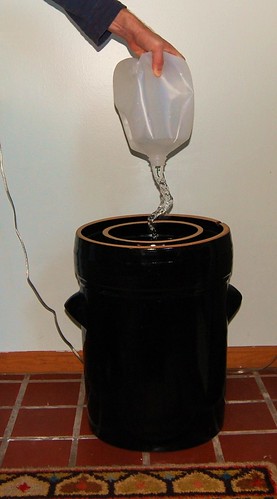
Step 4: Combine spices, water, vinegar, and canning salt into the crock
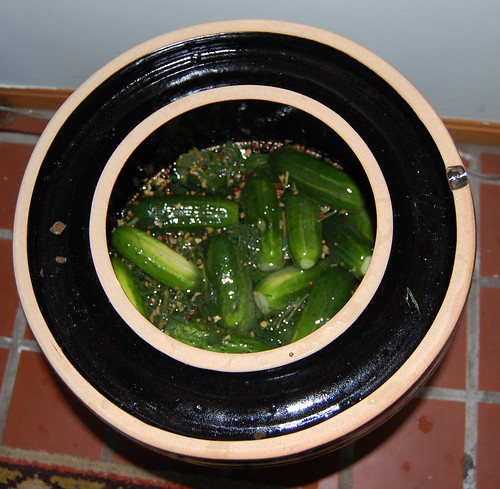
Step 5: Add the pickles-to-be
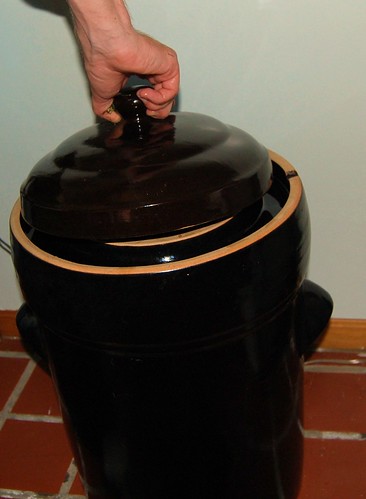
Step 6: Add stone weights to make sure the pickles don’t peek their heads above the water level, and then cover with ultra-cute crock cover.

Step 7: Wait for 3 weeks, and then…. Pickles!
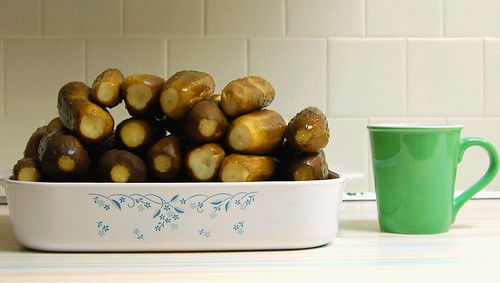
After this, we canned them – though the enormous half-gallon jars (think: half-gallon of milk-sized) for the enormous pickles were too big for our normal boiling water canner, so we had to use our pressure canner (without the pressure, of course). All in all we have about 9 half-gallon jars to show for our work.
I sent my finished pickles into the world last week and, I must say, it was a little unnerving. The pickling process was lengthy, uncertain, and full of things I knew little about. But the results were overall quite well-received, and I believe that we can now raise the flag of pickle success!
Posted by robyn on September 25th, 2008 under cooking, crafts, random5 Responses to “Raising the flag of pickle success!”
Leave a Comment
Handmade High Tech

I'm Robyn. Thanks for stopping by! This is my craft blog.
Contact me at robyn [at] dognamedbanjo [dot] com.
September 26th, 2008 at 7:55 pm
YUM. Robyn, those look picklicious!
September 28th, 2008 at 1:46 pm
I want some!
September 28th, 2008 at 10:19 pm
COOL!! I love making pickle relish. Everyone seems to LOVE IT! I haven’t made it in a few years….hmmmmm. The last few years have been RASPBERRY JAM! YUMMO!
October 8th, 2008 at 8:52 am
The photos actually made my mouth water. I LOVE homemade pickles.
June 23rd, 2009 at 7:05 pm
[…] planted 3 tomato plants and two pickling cucumber plants (to help offset the money to buy cukes for our pickling endeavors). I’ve never tried growing vegetables in the past, but so far, so good! Two of the three […]